1. Establish the approved instruction
Before opening the tool, identify the approved payee, net amount, date and account to be used. Attach the source reference in your office record. Resolve a disputed invoice, credit or deduction before preparing the final document.
The tool is not connected to your ledger. Entering an amount here does not post an expense, discharge a liability or verify that the account has funds.
2. Prepare the document
Enter the approved fields or import a clean first worksheet using the required columns. Compare the generated wording with the numerical amount. Check whether the existing No Date, crossing, numeric-format and CANCELLED switches are appropriate before printing.
Keep unnecessary details out of the upload. The bank account reference and approval record belong in your internal process, not in extra columns added to the printing sheet.
3. Review the physical output
Use the calibrated printer setup. The reviewer should inspect the physical result because a correct browser preview cannot reveal a misfeed, faint print or text landing outside the intended area. If the leaf is damaged or the payment details are wrong, follow the bank’s correction or replacement procedure.
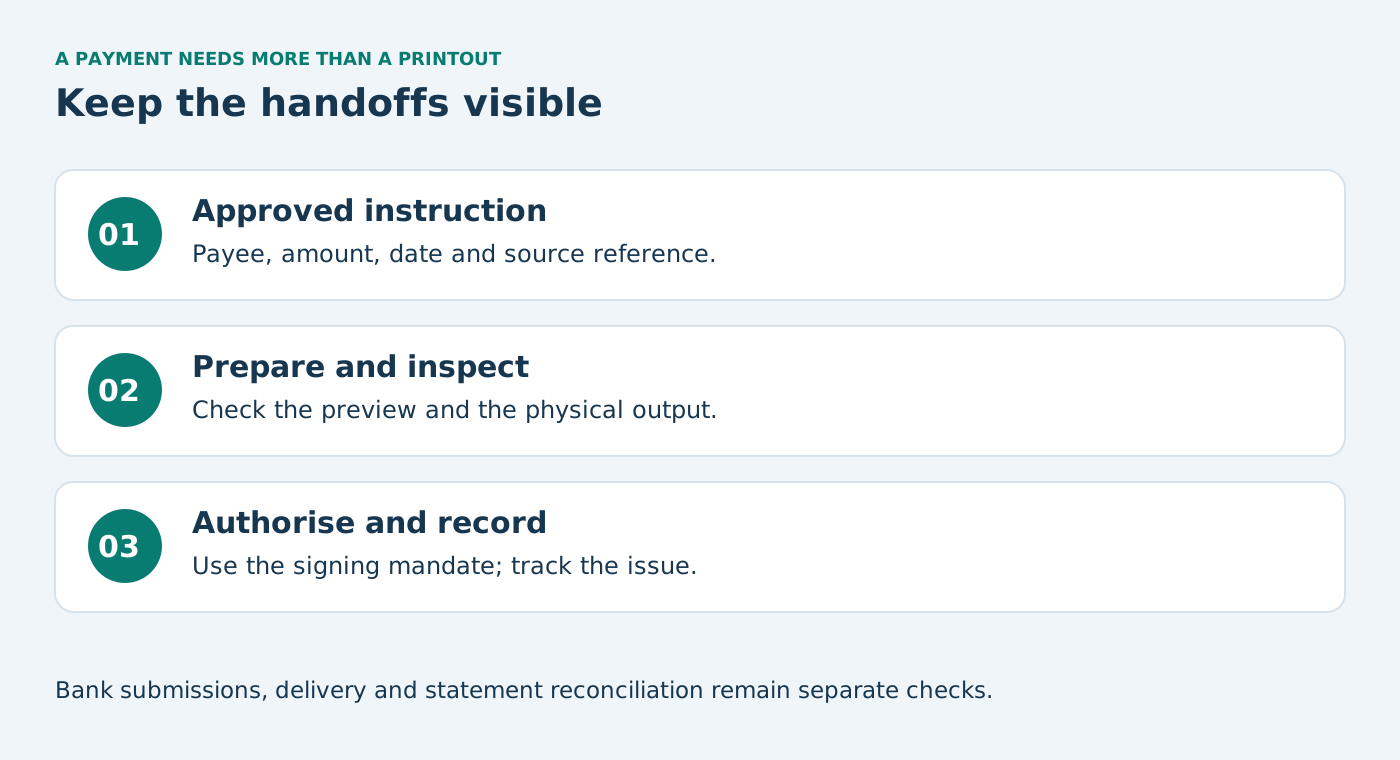
4. Obtain the required authorisation
Present the cheque and its supporting payment record to the authorised signatory. Follow the account’s current signing mandate. The operator should not infer authority from having access to the website or printer.
Record the review and release in a way your office can retrieve. A signed blank leaf is not a useful substitute for a documented, reviewed payment instruction.
5. Complete bank and delivery checks
Check whether the bank requires a Positive Pay submission or other action for this instrument and complete it through the official channel. Keep the acknowledgement with the issue record. When handing over the cheque, retain a receiving acknowledgement or dispatch reference appropriate to the delivery method.
6. Track the result
Record the issued instrument as outstanding until it is matched to the bank statement. If it is returned or reported lost, record the event and the next action. Keep replacement instruments linked so the office does not accidentally treat both as separate approved payments.
Use the print-session checklist, Positive Pay guide and reconciliation example for those stages.
The 3-Way Matching Standard in Commercial Disbursements
In rigorous corporate accounting environments, no payment cheque may be authorized or printed without completing a verifiable '3-Way Match'. This standard prevents duplicate billings, inflated prices, and payments for goods never delivered:
| Document #1: Purchase Order (PO) | Document #2: Goods Receipt Note (GRN) | Document #3: Vendor Tax Invoice |
|---|---|---|
| Authorized procurement terms, unit rates, quantities, and delivery milestones agreed with supplier. | Warehouse receiving report verifying physical quantity, inspection certification, and damage-free receipt. | Commercial tax invoice stating GSTIN, HSN codes, applied tax rates, and total payable amount. |
Statutory Deductions & TDS Verification Before Cheque Issuance
Before entering the net payable figure into FreeChequePrint, accounts teams must calculate statutory deductions under the Income Tax Act, 1961:
- TDS on Contractor Payments (Section 194C): Deduct 1% (individuals/HUF) or 2% (companies/firms) if annual billings exceed ₹1,00,000.
- TDS on Professional Fees (Section 194J): Deduct 10% (or 2% for technical services) on bills exceeding ₹30,000.
- TDS on Purchase of Goods (Section 194Q): Deduct 0.1% on purchase turnover exceeding ₹50,00,000 in a financial year.
- MSME 45-Day Payment Rule (Section 43B(h)): Ensure payments to registered Micro and Small enterprises are disbursed within 15 days (or 45 days if contractually agreed) to avoid loss of income tax expense deductions.