Before opening the workbook
- Use an approved payment list with a known row count and total.
- Keep a separate upload copy with only Payee Name, Amount and Date (DDMMYYYY).
- Store eight-digit dates as text and use plain numbers in Amount.
- Save the current layout code before experimenting with another setup.
Before the first physical print
- Compare the current preset, crossing, word system and date switches with the intended payment format.
- Confirm the printer, tray, scale and driver paper size.
- Make a plain-paper test using fictional details.
- Inspect every field against the measured leaf.
- Do not compensate for an unexpected Fit/Shrink setting by changing several offsets.
Before starting a batch
Use the record counter and navigation buttons to inspect all imported rows. Check especially the first date that begins with zero, the longest payee name and any fractional amount. Confirm the source total separately; the workspace does not display a calculated batch total.
Choose a batch size the printer and operator can manage. Keep unreviewed leaves separate from output awaiting signature. If a jam occurs, record which instrument was affected before retrying.
After the printer stops
Count the output and compare it with the reviewed list. Inspect figures, words, date and placement on every physical leaf. Separate misprints, record their references and follow the office’s handling policy before requesting replacements.
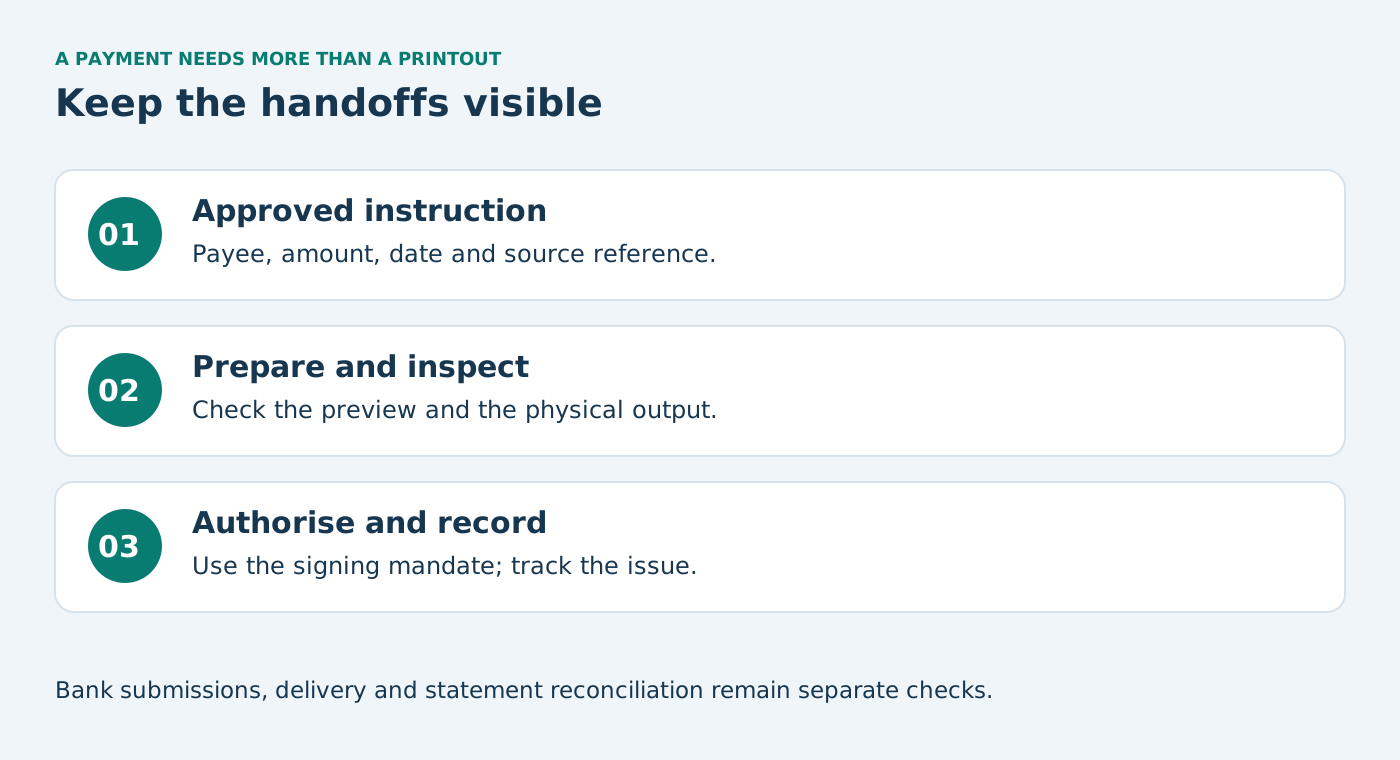
The payment should go through the account’s authorisation and any required bank submission. Printing alone is not release authority.
Close the session
Record the batch result, operator, reviewer and any exceptions. Retain the approved source and final register according to the office’s policy. Close the page on a shared device. If you clear browser site data for privacy, first decide whether you need to save the layout code, because clearing the site also removes stored preferences.
Visual first-print guide · Excel input details · Handling physical leaves
Statutory Framework & RBI CTS-2010 Cheque Standards
In accordance with the Reserve Bank of India (RBI) Cheque Truncation System (CTS-2010) guidelines, physical paper cheques undergo high-speed optical scanning and magnetic ink character recognition (MICR) reading at clearing houses. Hand-written cheques frequently encounter clearing rejections due to illegible numerical amounts, handwriting variations, or ink smudges across the 5/8-inch clear band at the bottom of the leaf. Printing cheques with standardized digital fonts eliminates these risks, ensuring seamless processing through automated CTS clearing cycles.
| CTS-2010 Checkpoint | Standard Specification | FreeChequePrint Safety Measure |
|---|---|---|
| Bottom Clear Band (MICR) | Strictly 19 mm (3/4 inch) free of any extraneous ink | Engine coordinates lock all print elements strictly above the 22 mm baseline |
| Amount in Words | Must begin and terminate with bounding markers | Automated bounding asterisks (e.g. ***One Lakh Only***) prevent post-print tampering |
| Account Payee Crossing | Parallel transverse lines across top-left corner | One-click standard or custom crossing rendered at exact 45-degree angle |
| Date Format | Strict 8-digit DDMMYYYY boxed format | Automated box-spacing calibration matches exact bank box boundaries |
Implementing Maker-Checker Corporate Controls
For corporate finance and accounts payable departments, issuing cheques without structured internal controls introduces fraud risks. Implementing a strict 'Maker-Checker' protocol ensures accountability:
- Maker Responsibility: The accounts assistant compiles the approved payment voucher, validates supporting invoices against Goods Receipt Notes (GRN), and imports the batch file into FreeChequePrint.
- Checker Responsibility: The finance manager cross-examines the on-screen preview against physical cheque leaf serial numbers before authorizing print initiation.
- Signatory Authorization: Cheques are submitted to authorized bank signatories only after verified printing, accompanied by the physical voucher and Positive Pay submission confirmation.
Emergency Protocol: Handling Jammed Cheques & Printer Faults
In the event of a mechanical printer paper jam during a batch print run, immediate corrective protocol must be observed to prevent duplicate or missing disbursements:
- Stop the Print Queue Immediately: Cancel the remaining printer spool queue from your operating system's print dialog to prevent subsequent leaves from feeding incorrectly.
- Inspect the Jammed Leaf: Carefully extract the paper without tearing the bottom MICR band. If the leaf is creased, torn, or imprinted with distorted numbers, deface the leaf with a permanent red 'CANCELLED - PRINTER JAM' marker and retain it in the cheque book counterfoil.
- Audit the Batch Counter: Check the serial number of the damaged leaf against your Excel payment schedule. Re-queue only the unprinted balance of the batch, starting with the next consecutive physical cheque leaf serial number.
- Document in Log: Record the incident in the Cheque Register with the operator's signature and timestamp to ensure complete audit trail transparency.